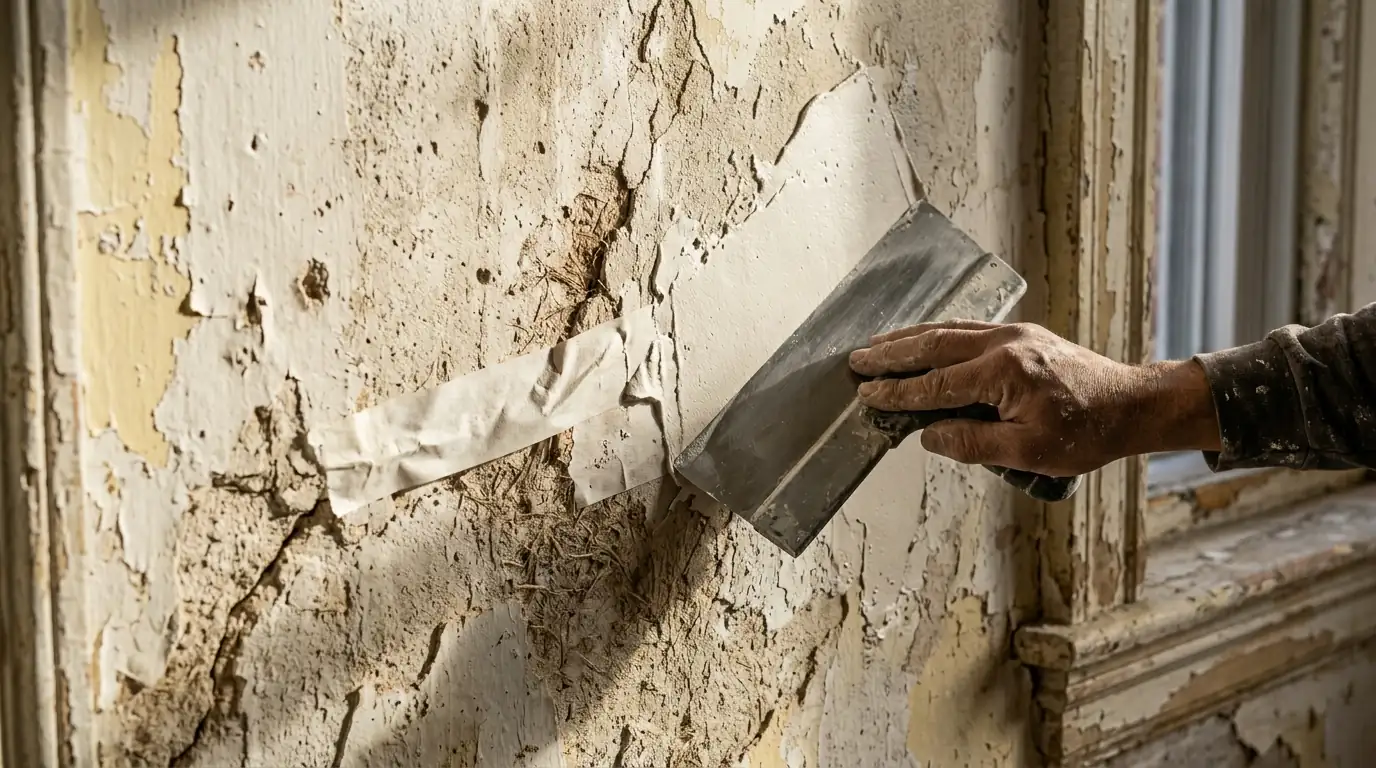
How do you tell plaster from drywall?
Knock on the wall. Plaster sounds dense and dull, and a pushpin barely goes in. Drywall sounds hollower between studs and takes a pin easily. Look at an outlet box with the cover off: plaster with lath behind it is usually 7/8 to 1 inch thick, while drywall is 1/2 or 5/8 inch with paper faces on both sides.
Most DC houses built before about 1950 started with plaster on wood lath, often three coats with horsehair in the base layer. Many have since become a mix. A Brookland porch-front might have original plaster in the front rooms, drywall in a rebuilt kitchen and a skim-coated ceiling where a leak was fixed in the 1980s. Each surface gets repaired differently, so we map them during the walkthrough.
Plaster is harder, quieter and more fire resistant than drywall, and it holds paint well once it is stable. Keeping it is usually worth it when the keys, the plaster that squeezed between the lath strips, are mostly intact. When large sections have let go of the lath, the math changes.
What each plaster problem is telling you
Cracks in old plaster look alike from across the room. Up close, each type points to a different repair.
Hairline cracks
Thin, straight cracks from seasonal movement. They are cosmetic, and taping them with fiberglass mesh and setting compound stops them from reopening each winter when the heat runs.
Diagonal cracks at door corners
Common where framing has settled. They come back if only caulked or filled, so we open the crack, tape across it and feather the patch two to three feet wide.
Map cracking
A web of fine cracks across a wall or ceiling, often in the finish coat. A full skim coat is usually the cleanest fix and makes the surface uniform for paint.
Sagging ceiling
Plaster pulled away from the lath because the keys broke. Press up gently: if it moves, it needs re-anchoring with plaster washers and screws before any patching.
Bulging or hollow walls
Areas that sound hollow when tapped have lost their bond. Small ones get adhesive injection and washers; large ones may need cutting out and filling in layers.
Soft or powdery plaster
Usually a past or current leak. The plaster crumbles under a fingernail and paint will not hold. Find the water first, then cut back to sound material and rebuild.
How we repair cracked plaster so it stays fixed
The sequence below is what keeps a plaster repair from cracking again the next winter.
- Coat 01
Check for lead first
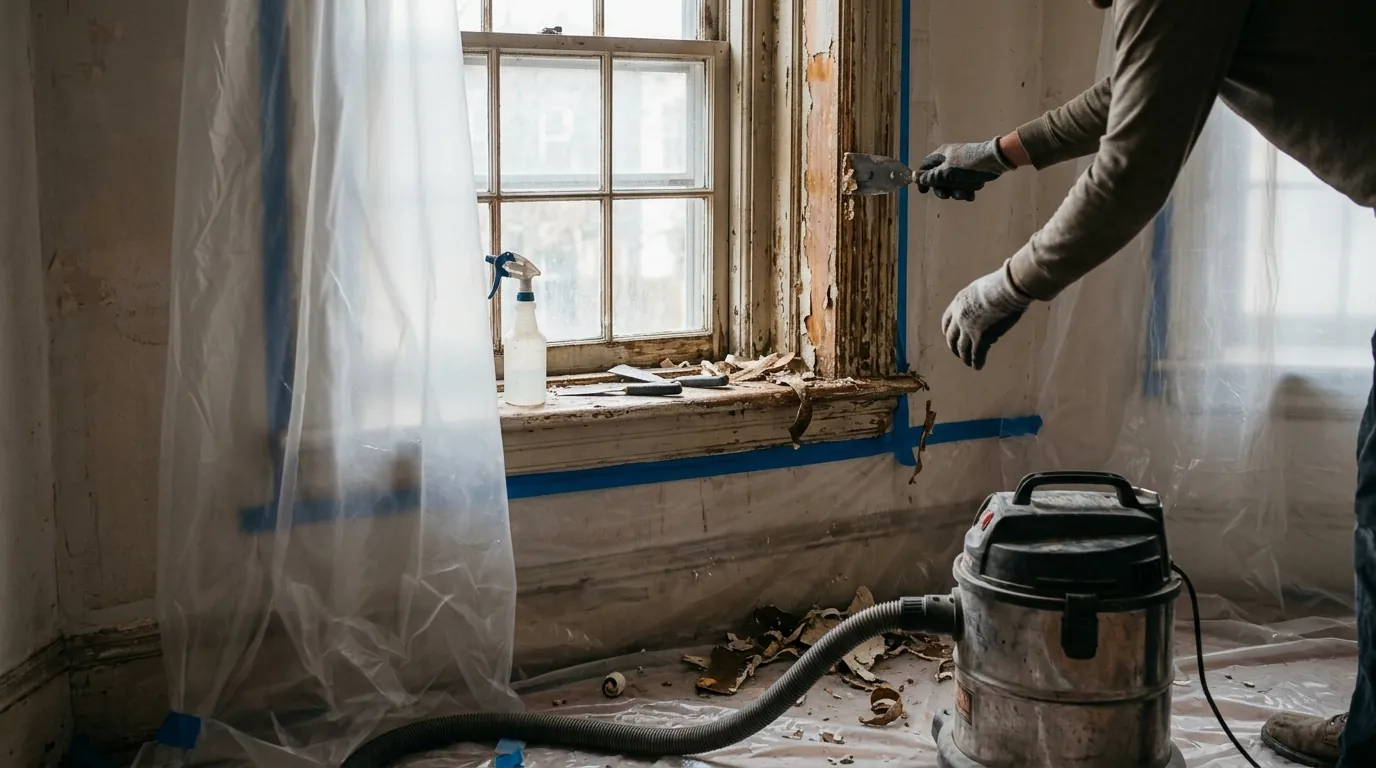
Pre-1978 paint over the plaster usually contains lead, so we test or treat it as present and work with wet methods, plastic and HEPA cleanup. Our post on lead paint in older homes explains what that adds.
- Coat 02
Re-anchor loose plaster
We drill through the plaster into the lath, inject adhesive where needed and draw it back with screws and plaster washers spaced every 4 to 6 inches around the loose area.
- Coat 03
Open and tape the cracks
Cracks are widened slightly and cleaned, then bridged with fiberglass mesh tape set in a setting-type compound, which cures harder than premixed joint compound and shrinks less.
- Coat 04
Fill and build up
Holes and missing areas are filled in layers of setting compound or base-coat plaster, each about 1/4 inch thick, letting each layer set before the next goes on.
- Coat 05
Skim and feather
We skim the repair wide, often 18 to 30 inches past the crack, so the patch disappears under raking light. Washer heads are skimmed flat in the same pass.
- Coat 06
Prime before paint
Repaired areas get a sealing primer so new compound and old plaster absorb paint evenly. Without it, patches show as dull spots, called flashing, under the finish coat.
What do plaster and drywall repairs typically cost?
These typical DC ranges cover the repair and making the surface ready for paint.
| Job | Typical range | What moves the price |
|---|---|---|
| Plaster crack or patch area | $185 to $640 | Length of cracks, re-anchoring needed and ceiling versus wall |
| Skim coat a room | $1,150 to $2,800 | Room size, ceiling height and how much map cracking is present |
| Re-anchor a sagging ceiling section | $360 to $940 | Area of loose plaster and how many washers it takes |
| Small drywall patch | $165 to $340 | Hole size, texture matching and number of patches |
| Drywall over failed plaster, one room | $2,350 to $4,690 | Removal versus overlay, trim adjustments and finish level |
These are typical ranges, not a quote; the price is set once we've seen the walls.
When is drywall the better choice?
We keep plaster when we can, but these situations usually point to drywall.
- More than about a third of a wall or ceiling has let go of the lath and can't be re-anchored.
- The wall is opening anyway for new wiring, plumbing or insulation, so patching around big holes costs more than replacing.
- A leak has left the plaster soft across a wide area, especially on a top-floor ceiling under a flat rowhouse roof.
- An earlier owner already covered sections with drywall, and matching one material across the room is simpler than blending two.
- The room is a kitchen or basement remodel where new cabinets and trim need flat, square walls, which drywall work gives more easily.
- The budget is tight and a 1/4 inch drywall overlay over sound but ugly plaster costs less than a full skim.
In the front rooms of most pre-war houses, though, careful plaster repair keeps the original walls for a similar price.
Mistakes that bring plaster cracks back
The most common is filling cracks with lightweight spackle or caulk and painting over them. It looks fine for a few months, then the crack telegraphs through after the first heating season because nothing bridges the two sides. Mesh tape and setting compound cost more time up front and save a second repaint.
The other is skipping the re-anchoring step on a ceiling. A skim coat over loose plaster adds weight to keys that are already broken. We've opened ceilings in Cleveland Park houses where decades of patches were hanging on old lath by a thread. If the repaired rooms need new color afterward, we move straight into interior painting once the primer has dried.
Services mentioned in this guide
Plaster Repair
Cracked and sagging plaster re-anchored and skim coated so pre-war walls stay plaster, not drywall.
Drywall Repair
Holes, cracks, nail pops and water-stained sections patched, textured to match and made paint ready.
Interior House Painting
Walls, ceilings and trim in occupied homes, with furniture moved, floors covered and rooms back in use each night.
Follow-up questions
Is it worth saving horsehair plaster in a pre-war DC rowhouse?
In most cases, yes. Horsehair plaster on wood lath is dense, sound-damping and stable once loose areas are re-anchored. Repairing cracks and skim coating usually costs about the same as tearing out and hanging drywall, without the mess of demolition, the lead dust from old paint or the need to reset trim and window casings that were built to plaster thickness.
Why do plaster cracks in old DC houses keep coming back after each winter?
Old houses move as heating dries the framing and summer humidity swells it. A crack filled with spackle has nothing holding the two sides together, so it opens again on the same line. Fiberglass mesh across the crack, set in a hard-setting compound and skimmed wide, spreads that movement over a larger area so it doesn't show through the paint.
Can you skim coat over old painted plaster without removing the paint?
Usually, if the old paint is firmly attached. We clean, sand lightly and apply a bonding primer so the skim coat grips the old surface. Glossy oil paint, flaking layers or calcimine, a chalky water-soluble finish found on some very old ceilings, must be removed or sealed first, otherwise the new skim can peel off in sheets.