Short answer
Plaster repair in DC usually means securing loose plaster to wood lath with washers or adhesive injection, cutting out and refilling crumbled areas with base coat plaster, bridging cracks with fiberglass mesh, then skim coating and priming. A crack or patch area typically costs $185 to $640, and skim coating a full room runs about $1,150 to $2,800.
What makes plaster in older DC homes behave the way it does
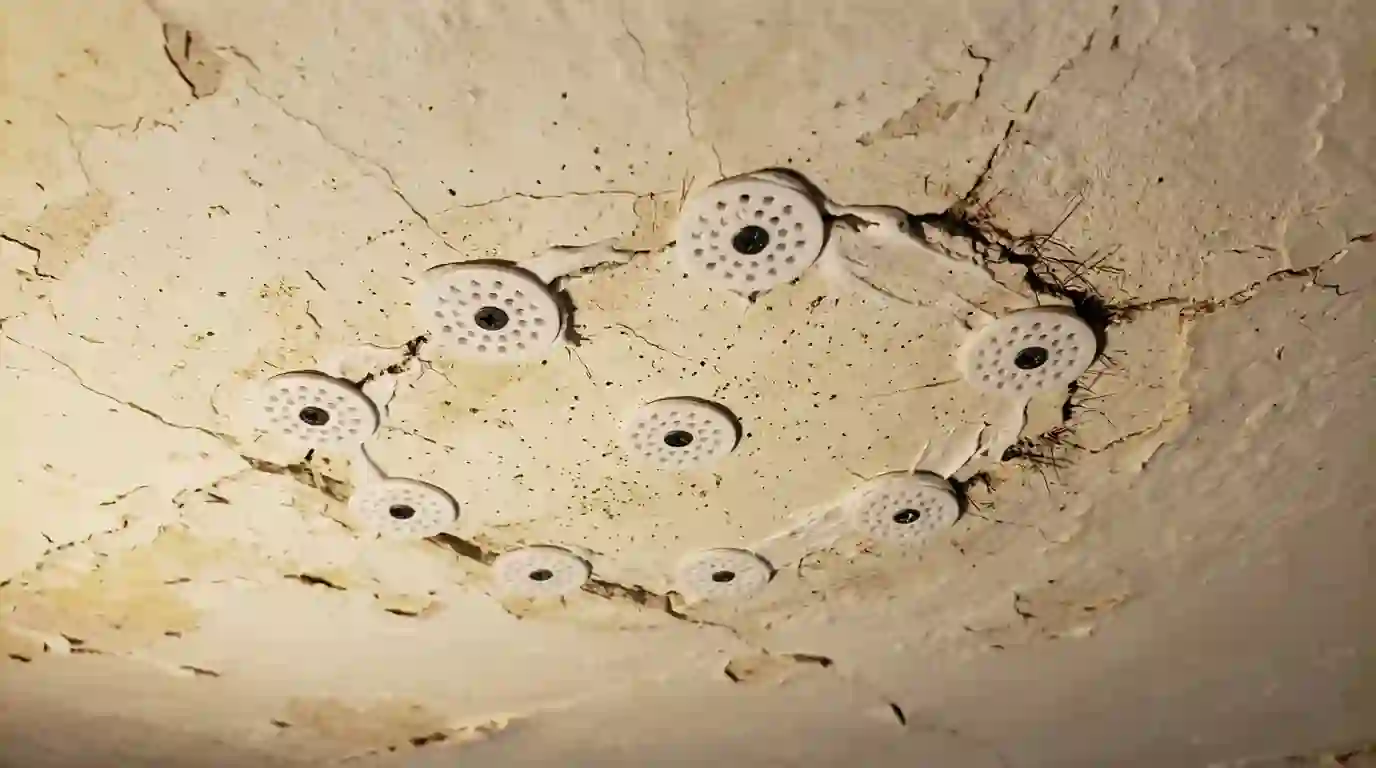
Most houses in Capitol Hill, Bloomingdale, Petworth and Brookland were finished with three-coat plaster over wood lath. The first scratch coat pushed through gaps in the lath and curled over the back, forming keys that hold the wall in place. In many homes built before about 1920, that base coat was mixed with horsehair to keep it from cracking as it cured. A century of settling, roof leaks and door slams breaks those keys, and that is when walls start to bulge.
Freeze-thaw winters and humid summers keep the wood lath and framing moving a little every year. Plaster is rigid, so it cracks along the weak lines: door and window corners, ceiling centers, and stairwell walls where long spans flex. A crack on its own is cosmetic. A crack with a ridge you can press in is a loose section, and that needs anchoring before any filler goes on.
Plaster in pre-1978 homes almost always carries lead in its paint layers, and some old textured finishes contain asbestos. We follow EPA RRP lead-safe work practices when we cut or sand painted plaster, with containment and HEPA cleanup. Our blog post on plaster or drywall repair in older homes explains why keeping plaster is usually the better choice.
Typical plaster repair prices in Washington, DC
Plaster jobs vary with how much is loose and how much finish work the room needs afterward.
| Job | Typical range | What moves the price |
|---|---|---|
| Single crack or small patch area | $185 to $640 | Crack length, loose keys behind it, height |
| Re-anchoring a bulging section | $340 to $910 | Area size, adhesive vs washers, ceiling work |
| Rebuilding a crumbled corner or opening | $290 to $780 | Corner bead, depth of loss, molding nearby |
| Skim coating a full room | $1,150 to $2,800 | Ceiling included, cracks, wall height |
| Stairwell wall and ceiling repairs | $870 to $2,460 | Scaffolding, height, number of cracks |
| Lead-safe containment and cleanup | $380 to $1,450 per job | Rooms involved, dust control, HVAC sealing |
These are typical DC ranges, not a quote; a walkthrough sets the actual price.
When your plaster is asking for attention
Some signs are cosmetic and some mean the plaster is losing its grip on the lath.
Map cracks across the ceiling
A web of fine cracks on an old ceiling is common and often stable. Pressing gently tells us whether the plaster is still keyed or starting to sag.
A bulge that gives when pressed
Plaster that moves under your hand has lost its keys. It needs screws with plaster washers or adhesive injection before it drops on its own.
Crumbling at outside corners
Old corners take bumps from furniture and vacuums. Once the finish coat chips, the softer base coat behind it powders away quickly.
Cracks that reopen each winter
Filling with spackle alone fails here. The crack needs to be bridged with fiberglass mesh and a setting compound so movement is spread out.
Stains near radiators or windows
Old leaks, radiator valves and failed window putty soften plaster from behind. We check that the area is dry before rebuilding it.
Hollow sound when you tap
Tapping with a knuckle tells you a lot. A dull thud means solid plaster; a hollow rattle means it has pulled away from the lath.
Our sequence for saving a plaster wall
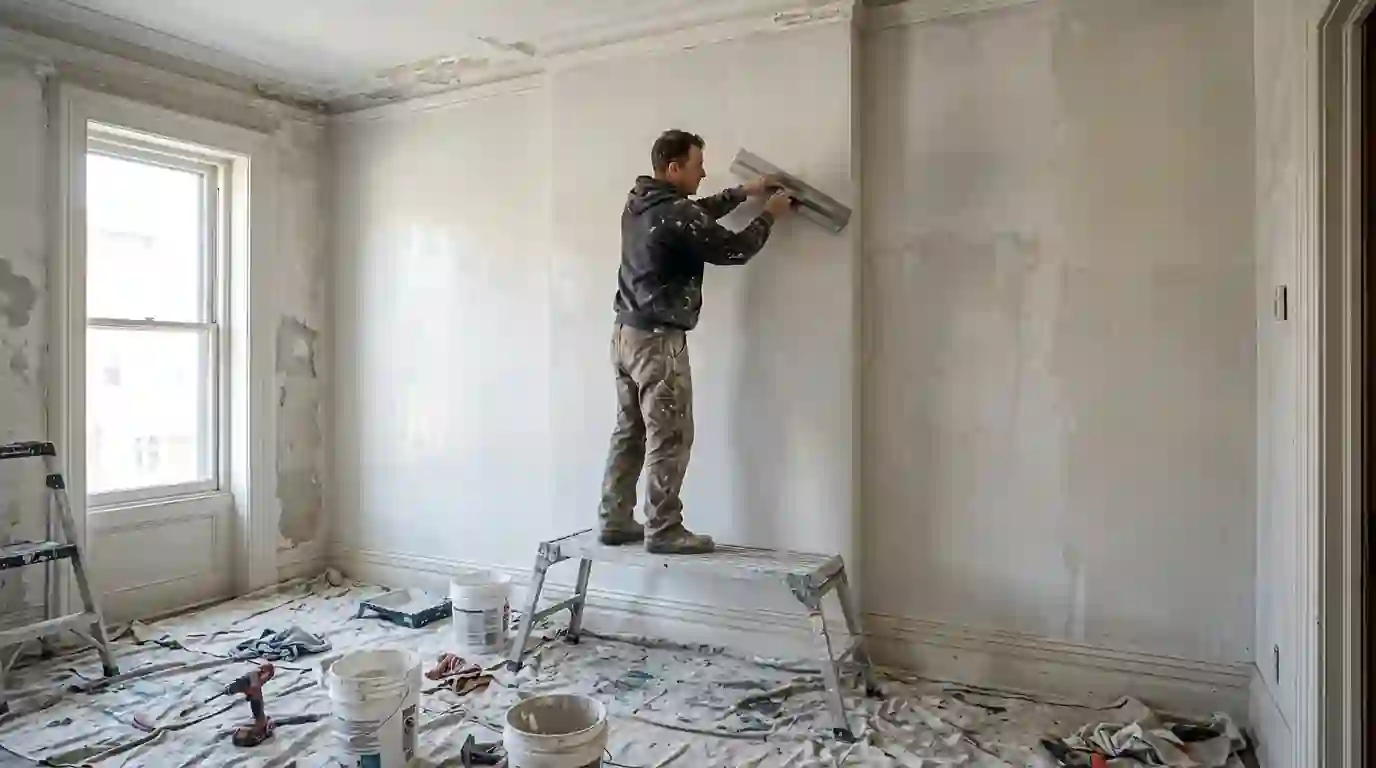
Plaster takes longer than drywall because each coat has to set and dry. Most rooms take three to five working days.
- Coat 01
Map the loose areas
We tap and press the whole wall or ceiling, mark loose sections with tape and look for leak sources. This tells us whether we are anchoring, patching or skim coating, and how much of each.
- Coat 02
Set up containment
Furniture is moved or wrapped, floors are covered and doorways sealed with plastic. On painted plaster in pre-1978 homes, we follow lead-safe practices from this step on.
- Coat 03
Re-anchor to the lath
Loose plaster is drilled, vacuumed and injected with a plaster adhesive, then pulled tight with temporary screws and plastic washers. Where adhesive won't reach, permanent screws with plaster washers do the work.
- Coat 04
Fill voids with base coat
Missing or crumbled plaster is cut back to sound edges and refilled with a gypsum base coat such as Structo-Lite or a setting compound in layers, each one left to firm up before the next.
- Coat 05
Bridge the cracks
Cracks get opened slightly, then covered with fiberglass mesh embedded in setting compound. The mesh spreads seasonal movement over a wider area so the crack is less likely to return.
- Coat 06
Skim and finish
Two thin coats of finish plaster or topping compound smooth the wall. We remove temporary screws, fill those holes and sand lightly with a vacuum-connected sander.
- Coat 07
Prime before paint
Fresh plaster and compound absorb paint unevenly, so a sealing primer goes on first. Then the room is ready for interior painting with your chosen finish.
Materials that suit old lime and gypsum plaster
Old walls are a mix of lime, gypsum and sometimes horsehair, so we pick products that bond with what's there.
- Plaster adhesive and conditioner to re-glue loose plaster to wood lath.
- Plastic plaster washers, often called buttons, to hold sections tight while adhesive cures.
- A lightweight gypsum base coat, such as USG Structo-Lite, for deep fills.
- Fiberglass mesh tape over cracks, embedded in setting-type compound.
- Veneer finish plaster or a hard topping compound for skim coats.
- Zinsser primer or a similar sealing primer to even out porosity before paint.
- A breathable mineral paint, such as Romabio, for owners who want lime-compatible finishes in historic rooms.
Patch, skim coat or replace with drywall?
Every plaster wall gets one of four treatments, and many rooms get a mix.
Spot patch and re-anchor
Best when damage is limited to a few cracks or a single loose area. It's the least disruptive option and keeps the rest of the original finish untouched.
Full skim coat
When a wall has many cracks, old patches and uneven texture, a thin skim over the whole surface gives one consistent finish and costs less than piecing it together.
Drywall inlay
Where a section of plaster and lath is missing, a piece of drywall shimmed to plaster depth and blended with tape and compound fills the hole without tearing out the wall.
Full replacement
Only when most of a wall is detached or water damaged. It's messy and lead-heavy, so we treat it as a last resort and say plainly when drywall repair methods make more sense.
Where we do this work most often
We take this job across the District and close-in Maryland and Virginia. These are the neighborhoods and cities we cover most, with a ZIP for each.
Questions we hear about this
Is horsehair plaster in my DC rowhouse worth repairing rather than replacing?
In most cases, yes. Horsehair plaster is dense, quiet and fire resistant, and repairing it keeps original trim and moldings undisturbed. Tearing it out makes heavy, lead-laden dust and usually means removing casings and baseboards. Unless large areas are falling, re-anchoring and skim coating costs less and keeps the house's character.
Can you repair a plaster ceiling that's sagging in an old DC house?
We can if it is still mostly intact. Sagging plaster gets adhesive injection and plaster washers to pull it back to the lath, then cracks are bridged and the surface skim coated. If a ceiling section has already partly fallen or the lath is broken, we rebuild that area, sometimes with a piece of drywall shimmed flush and blended.
How do you keep plaster dust out of the rest of my house?
We seal doorways and vents with plastic, cover floors and use sanders and drills connected to HEPA vacuums. Cleanup includes HEPA vacuuming and wet wiping. On pre-1978 houses we follow EPA RRP lead-safe practices, which our lead-safe painting page explains in more detail.
Do you repair plaster around crown molding and medallions?
We repair flat plaster up to and around existing moldings and medallions, cleaning the joint and caulking or filling it neatly. Rebuilding missing sections of run plaster cornice or ornamental castings is a specialty craft, and we'll tell you when a job needs that kind of ornamental plasterer instead of us.
Should plaster repair happen before a whole-house repaint in Capitol Hill?
Yes. Plaster repairs need drying and priming time, so we schedule them first and paint after. On many Capitol Hill homes, plaster work runs room by room ahead of the painters, which keeps the house partly usable throughout. Our historic home painting service often includes this pairing.